Pimoroni released their Snowflake product based on a design by Lucky Resistor a number of years ago.
I thought it looked great but was not sure if five of them would be a bit overwhelming.
This year they introduced the Snowflake Solo, a single Snowflake board and a controller board all on a single beautifully crafted PCB.


Once the two boards are separated they need to be connected. The connectors on both boards are identical (note that there are two connectors on the snowflake - an In and an Out).
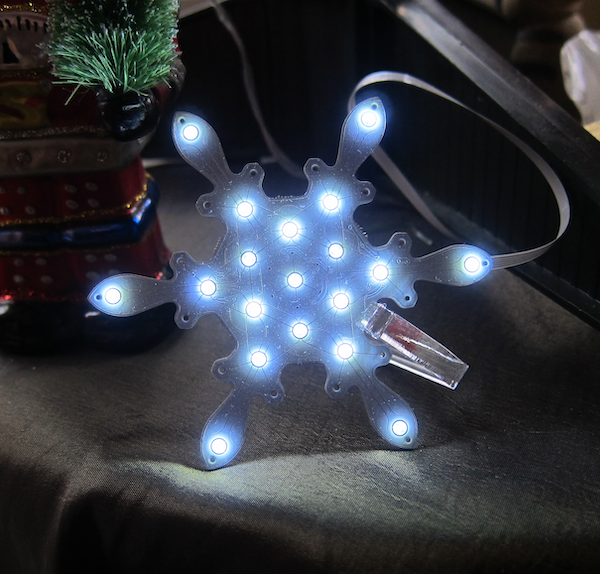 The snowflake is programmed with a number of different patterns, these can be selected by clicking the centre button on the control board. Click it once to select change mode, then click it a number of times to select the rquired mode.

On the control board and the In connector on the snowflake, flip up the connector to open it, insert the cable with the blue side upwards, and close the connector.
The control board has a micro-usb socket for power, I used one of my Raspberry Pi Zero mains adaptors, any micro-USB charger should be fine.
The acrylic stand is quite a tight fit.